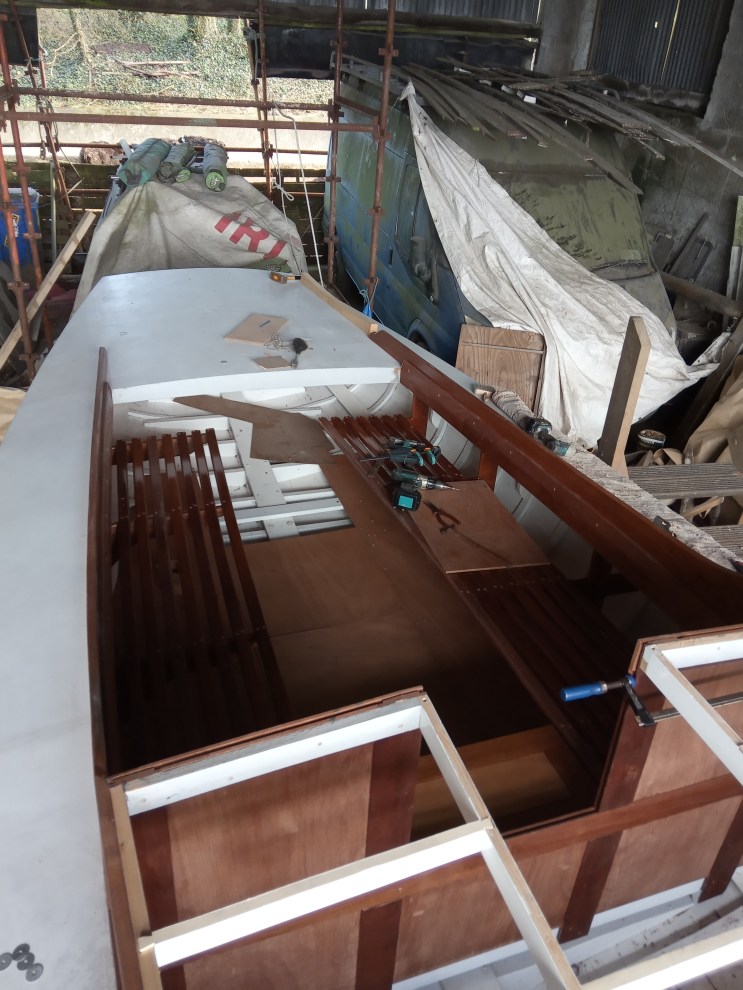
It’s blooming cold here at the moment and I’m trying to stay productive while waiting for the temperature to rise. I thought you might be interested so see what other projects are ongoing here. After the highs of International Awards it’s back to earth with a decided bump. Pictured above is the boat I bought for myself in a rash move over Christmas 2021. A post pandemic blow out or mid life crisis I’m not sure.

As you can see she was more of a floating skip than sailing boat but despite being used as a houseboat for a number of months she had recently been sailed over from Falmouth to Kinsale so was seaworthy. After a fairly thorough inspection while dried out at her mooring in Kinsale I was fairly convinced that she was sound. Of course the holes chopped in the deck to remove her bronze fittings and engine were letting in a bit of rain and the interior coating of mildew didn’t improve things.

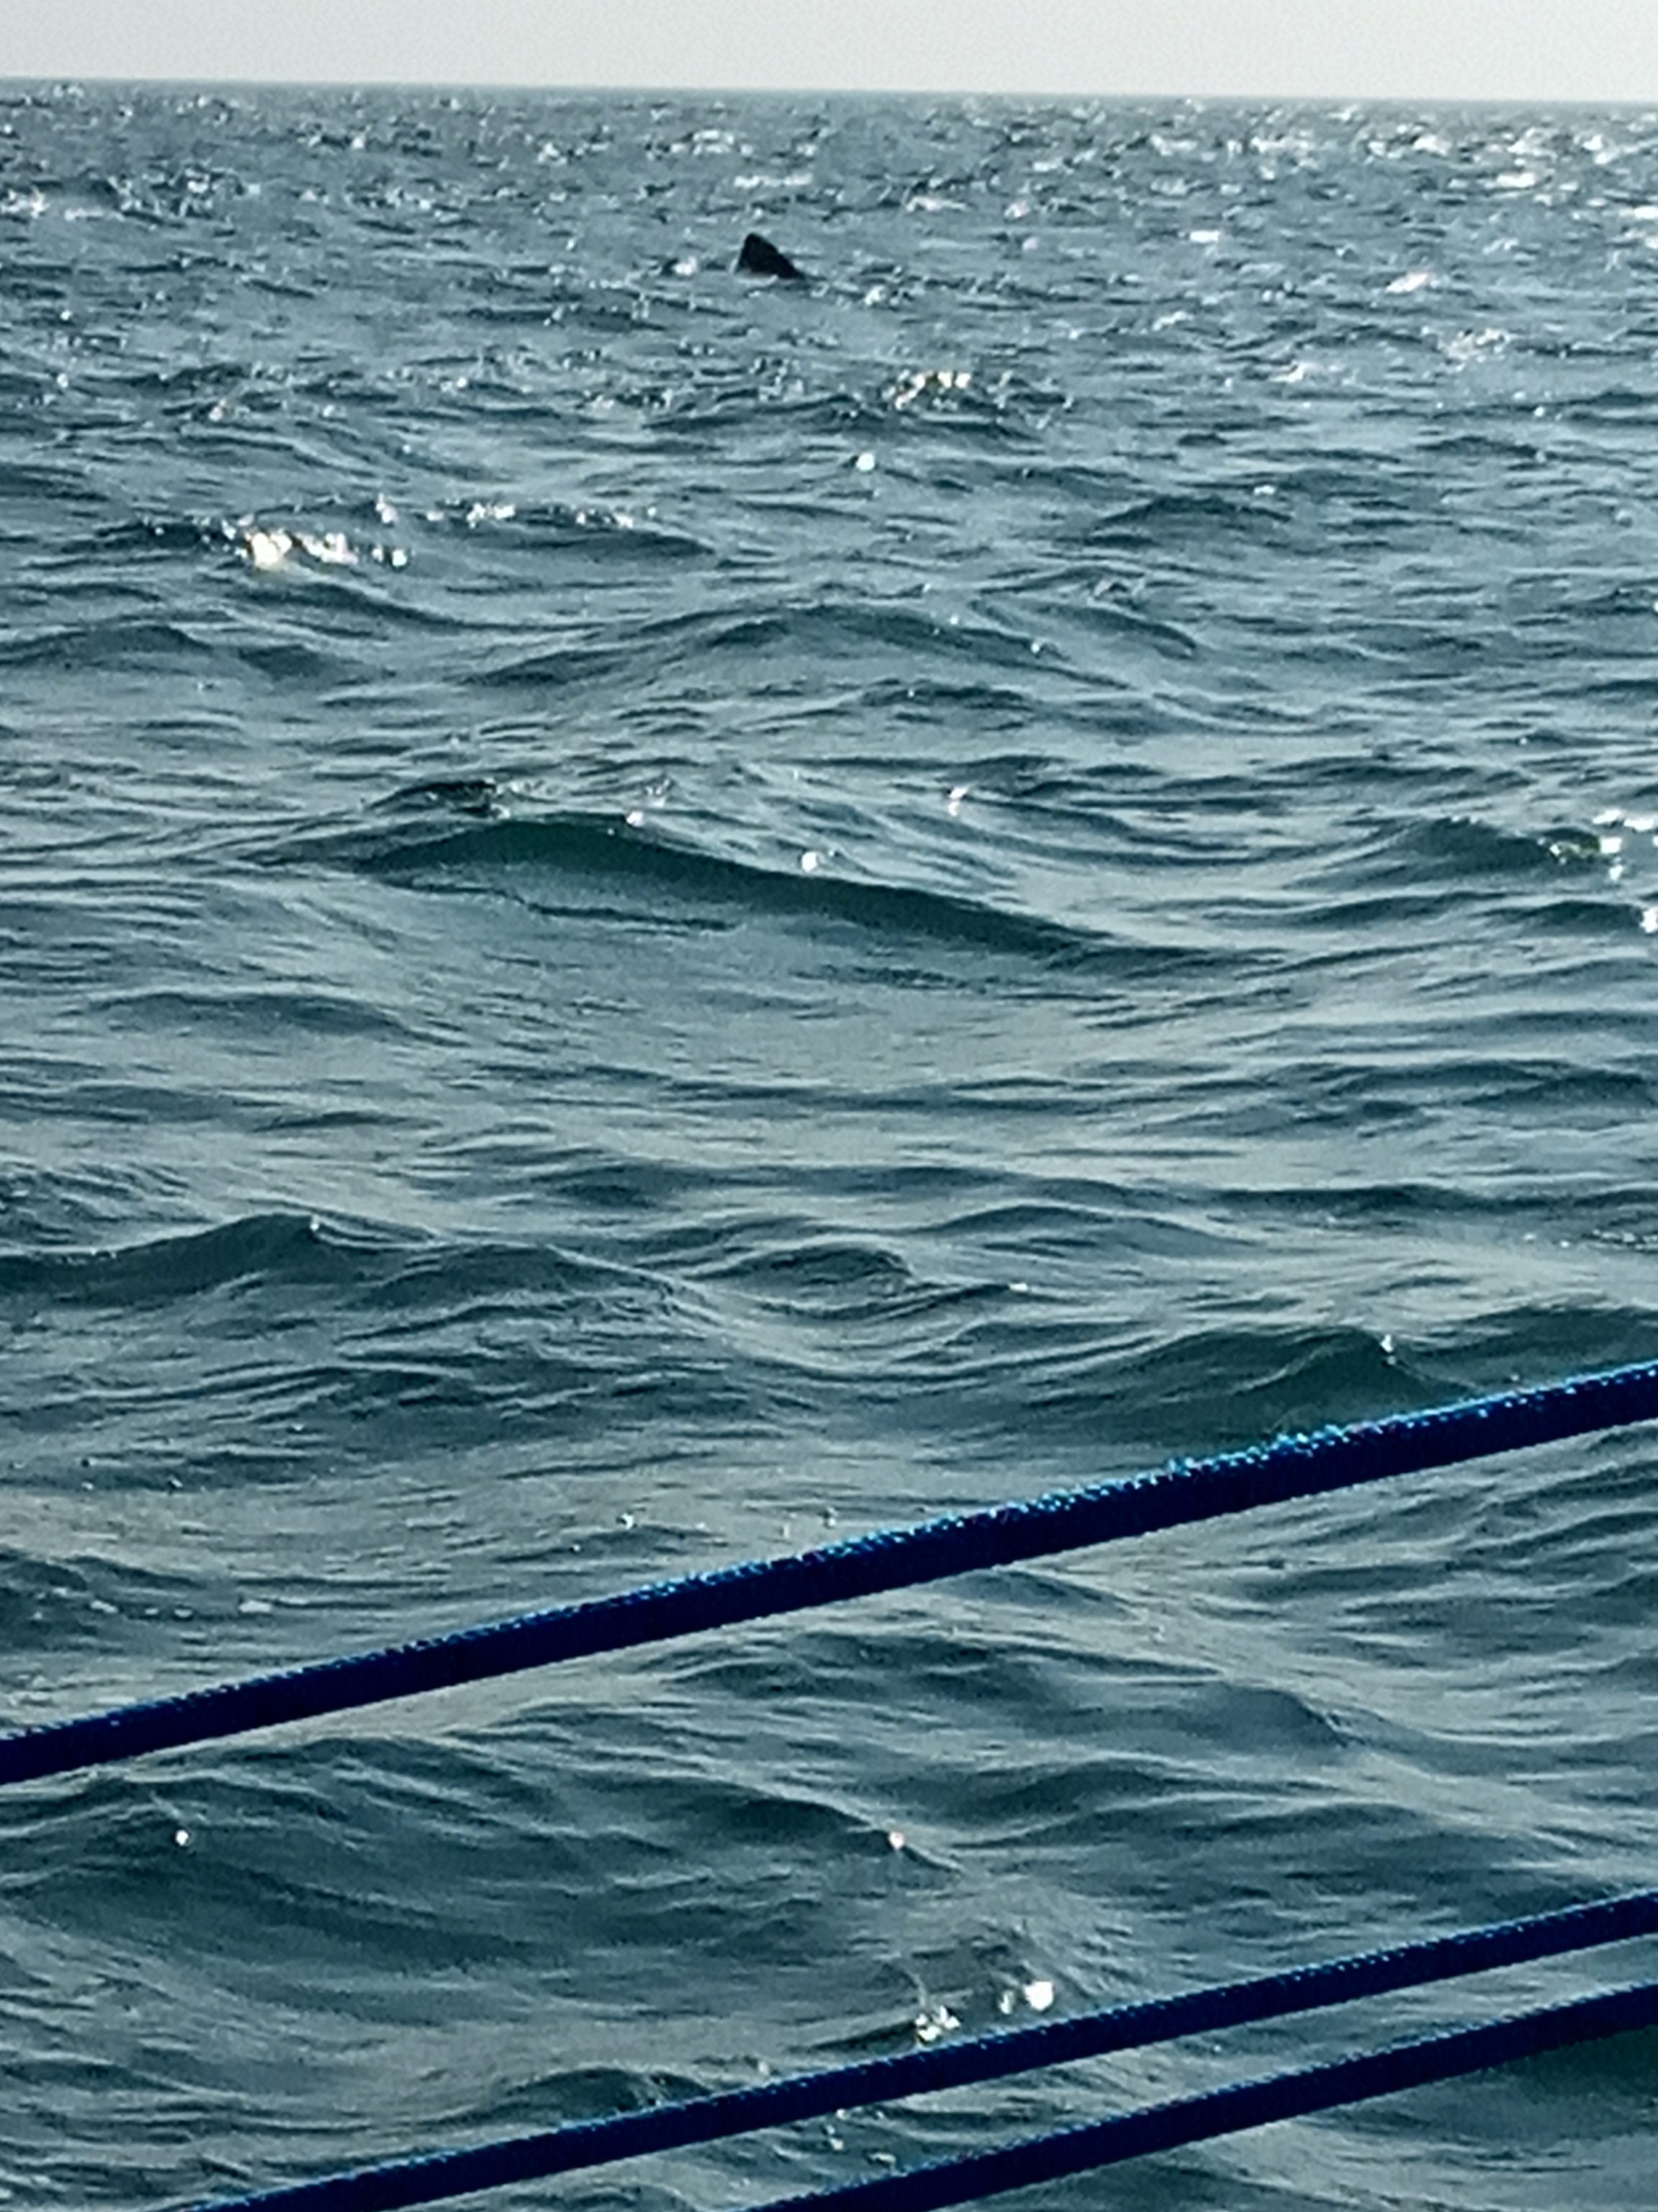
I kept her in Kinsale over the rest of the winter and moved her Roaring Water Bay the first fair weather window in March which was a cracking sunny light wind sail to Glandore (Charlesfort, Kinsale on the morning we left above) followed but a real sleigh ride to Roaring Water Bay the next day during which we nearly hit a basking shark below the beacon in Baltimore. (below)
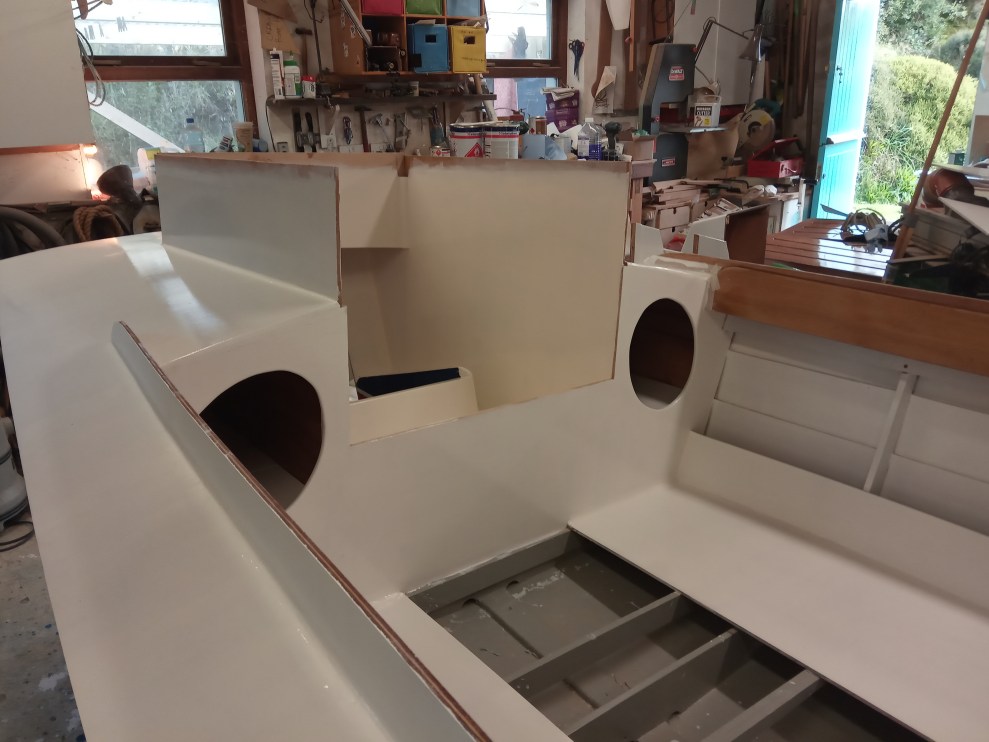
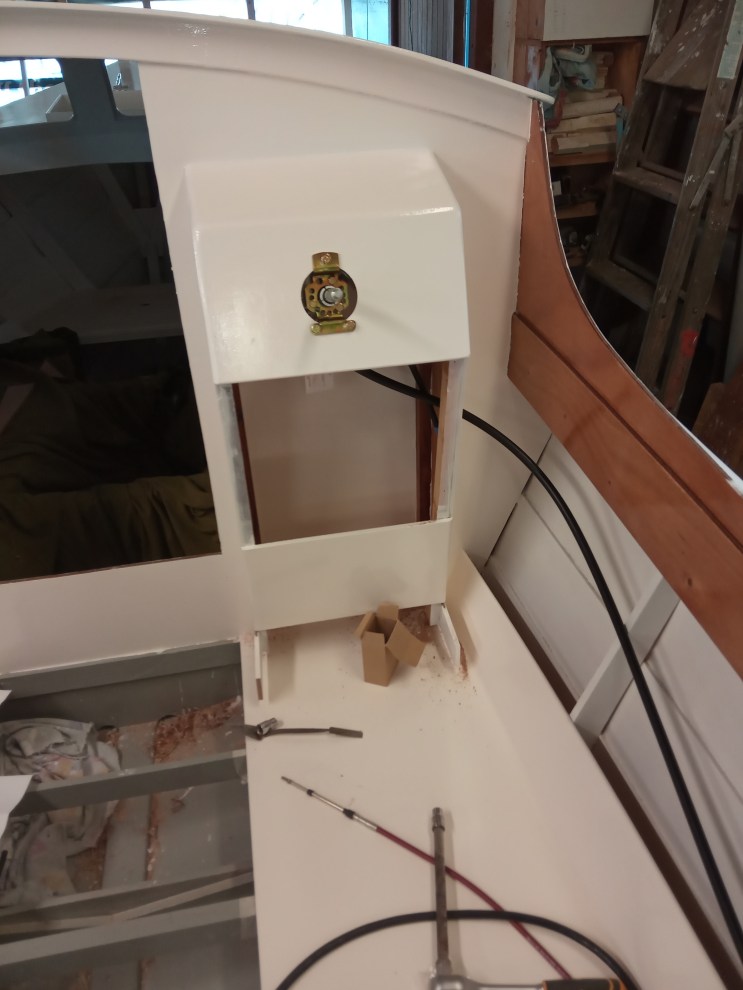
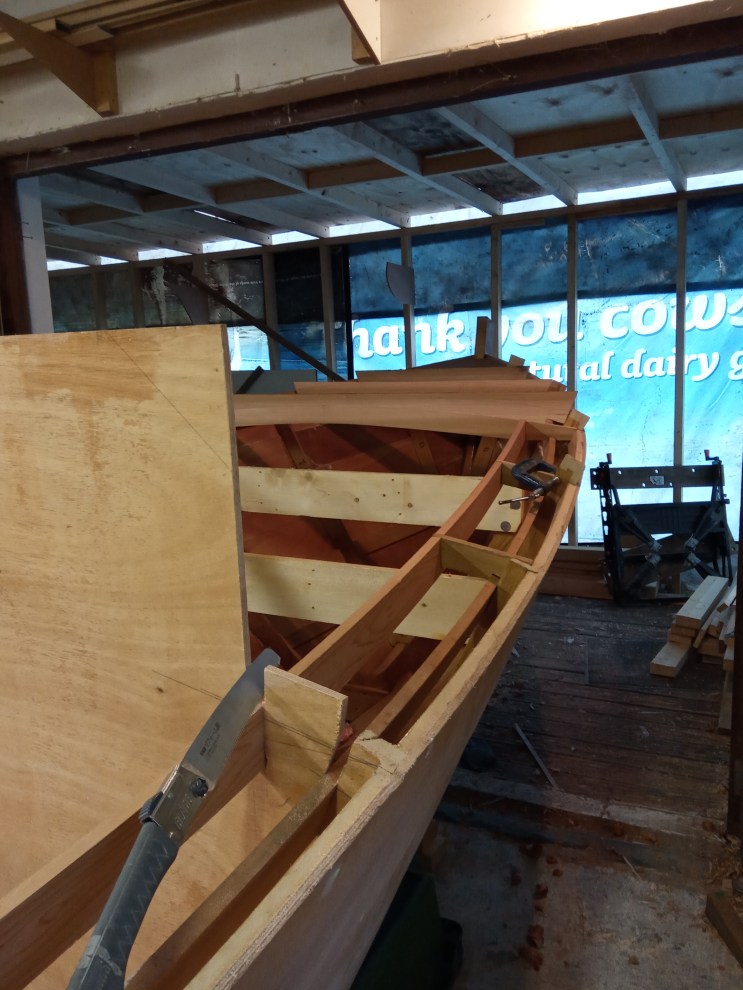
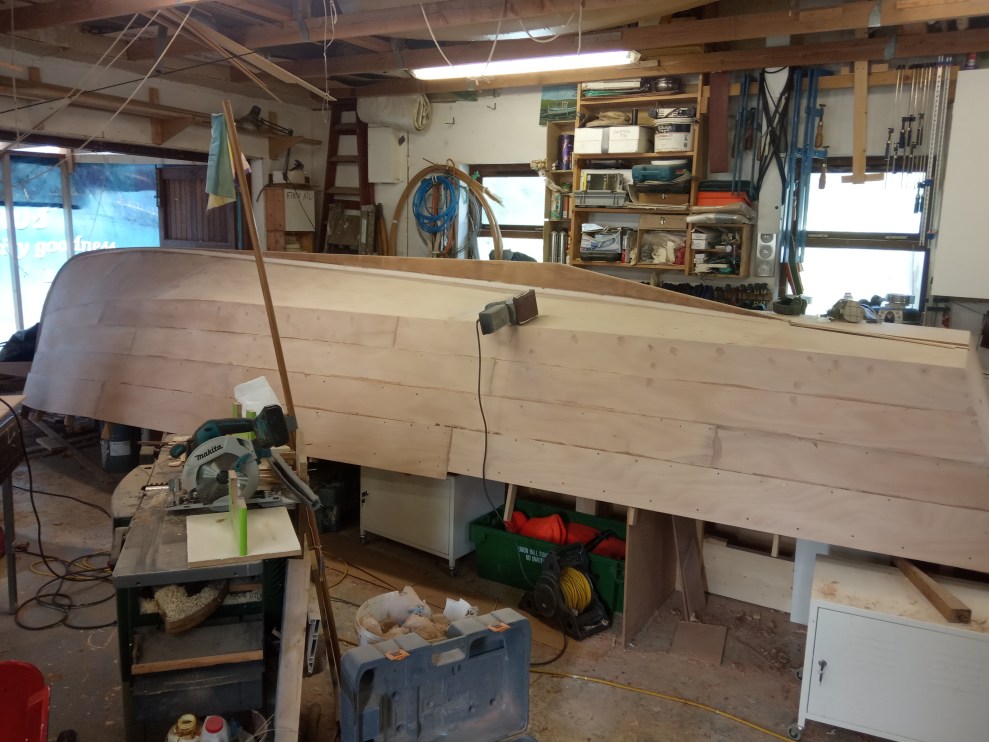
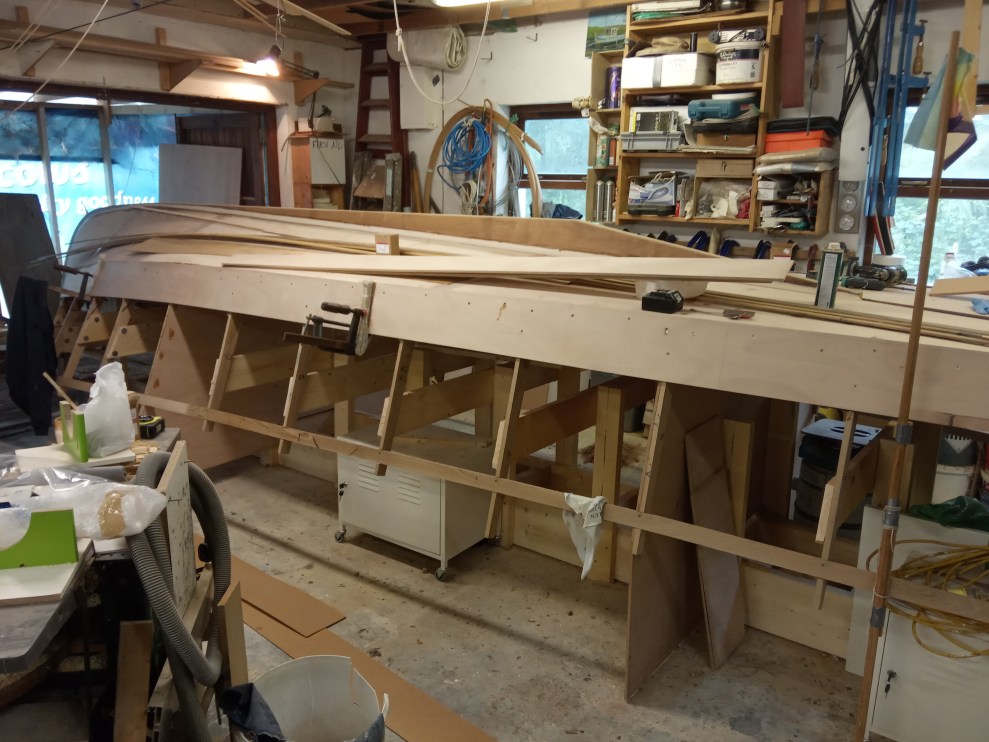
Below are couple of shots of her dried out to give you an idea of her shape. I’ll be giving more info about as and when. Needless to say while there has been more work in some projects than I had envisaged e.g. having to rebuild the cockpit, I have been pleasantly surprised at how good she it otherwise.


If you would like to have your own award winning boat restored, repaired or built don’t hesitate to contact me, Tiernan Roe, you can call me at +353 86 1586937 or by email or use the contact page.
Roeboats, Ballydehob, Co. Cork, t:+353 (0)28 38973 m: +353 (0)86 158 69 37 e:tiernan@roeboats.com